March 11, 2011

Newest Discovery... CAKE POPS!!! I am in love.

Apparently these little cake ball creations have been around for a couple of years. I just discovered the Bakerella website a couple of days ago and just had to give them a try. We ordered her book and tried them out today. The girls had fun decorating the cake pops and I made a few of the cupcake shaped bites to give out to my brother and sister-in-law for their birthdays and for my daughter's grandma's birthday too. They were a lot of fun to make and I cannot wait to try out different shapes. My next trial will be to make little chicks for Easter. With a lot of practice we could make some really neat things.


The girls decorating their cake pops.

Kaileigh eating one of her "mistakes". Lol


Mini cupcakes made out of cake balls.


The girls' finished products.
Posted by Picasa

February 21, 2011

What we did today... Altered Canvases

The girls and I had the day off together so we made a canvas for each of their rooms in the new house. I asked Kaileigh if she wanted to and she said "yes" so I had to jump on that one. She also told me that she was going to let me take more pictures of her because she does enjoys looking at them now. (She rarely lets me take her photo.)

KAILEIGH'S CANVAS


Leah wants her new room pink and green and she love polka dots and plaid. We added all of her favorite things... cheerleading, Horton, elephants, and making people laugh.

LEAH'S CANVAS

Posted by Picasa

February 06, 2011

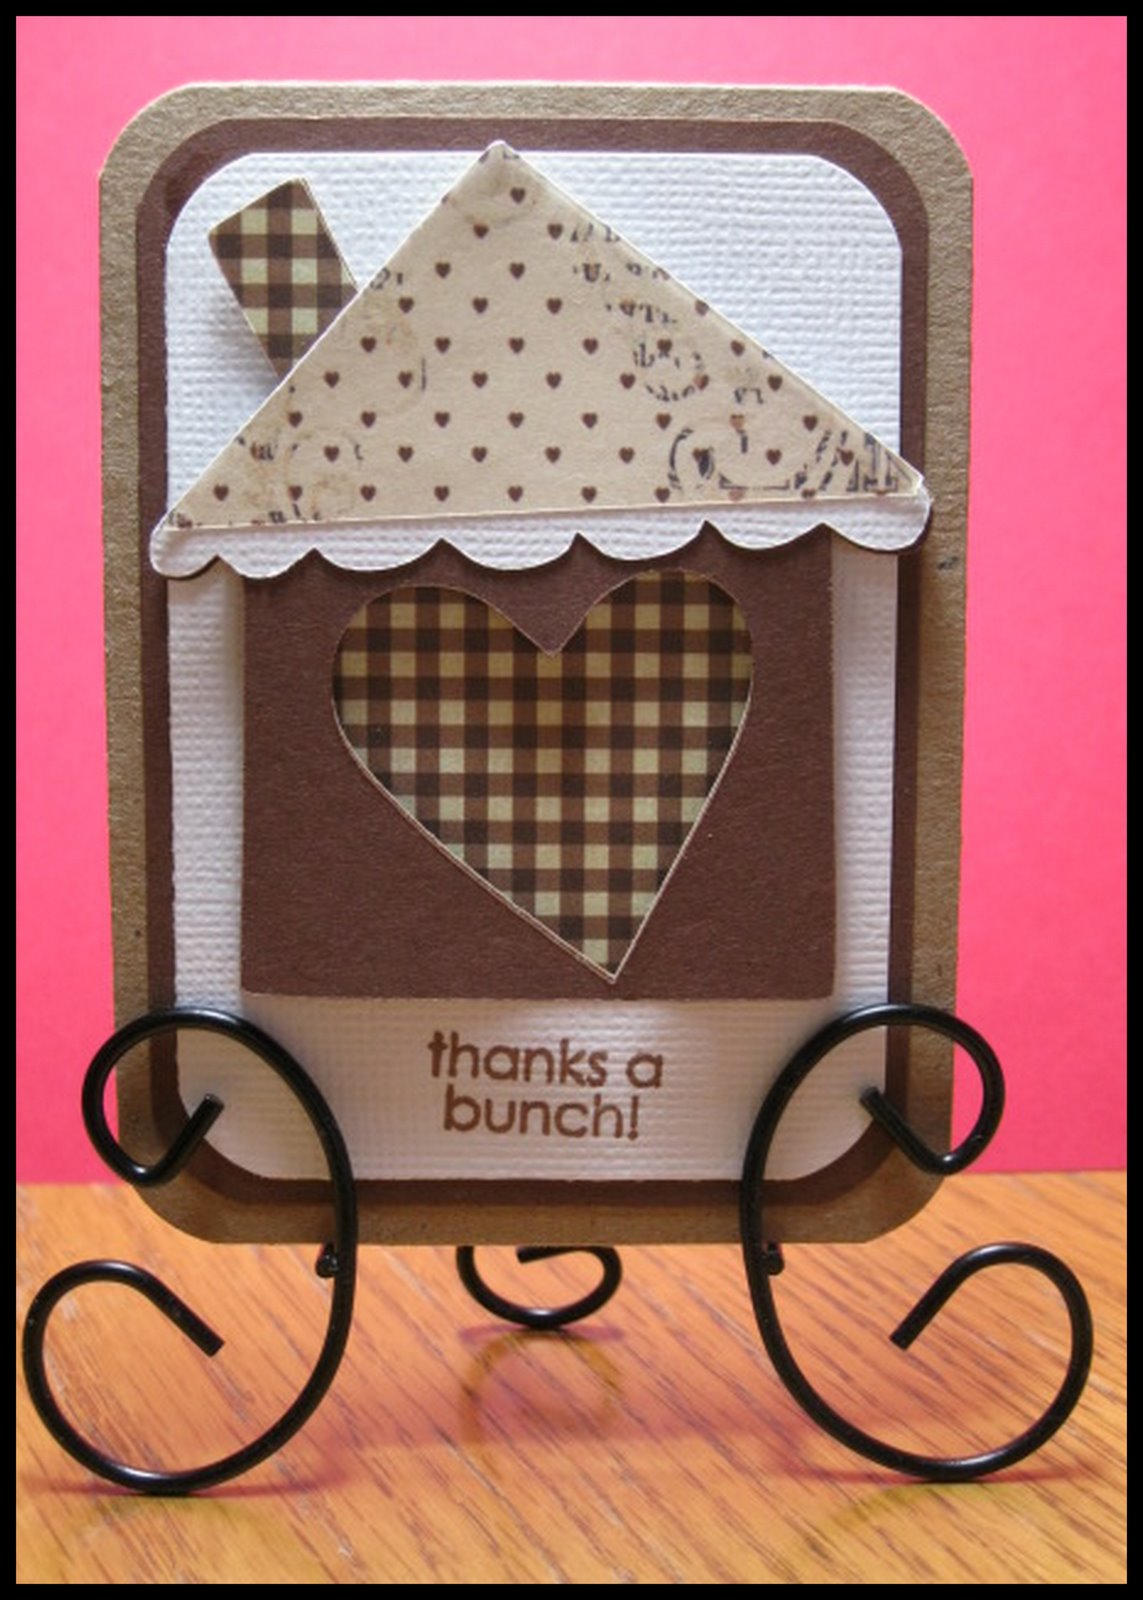
Thanks a Bunch!

We are in the process of buying a new house and I needed a thank card for the home inspector- which is Keith's cousin. He was not charging us so I made him a little card with the house from Hoot n Holler and added a gift card for The Cheesecake Factory for dinner. I did not feel like making an envelope so I tied a little bow around it and affixed the gift card with a couple of glue spots. The card measures 3x4 and fit the gift card perfectly.


What the actual card looks like...


Side view... Love those foam dots and added dimension.


Lovin' the little houses from Hoot n Holler!
It's the reason why I bought the cartridge. Lol.

l

Thanks for stopping by and taking a look!
Posted by Picasa

January 26, 2011

Birthday Wishes card made with "Birthday Bash"

Today is my Mom's birthday so I decided to make something with my Birthday Bash cartridge.
I love the images, phrases, and especially the alphabet on this one.
This alphabet is my favorite from all of the cartridges, with Don Juan a close second.
This card was made with the tag function for the base and the single candle.
This card only measures approximately 3x5.

Posted by Picasa

January 22, 2011

I DID IT! Isn't she adorable?


I don't know how many of you follow Jin at Under A Cherry Tree- but I have for quite some time.  I find the clean looking projects and cuts that she makes with Make-the-Cut and Lettering Delights absolutely adorable.  I am not in the market for a new cutting device or program- I plan on sticking with my Gypsy and Expression for a very long time.  Recently she posted a little girl from the Weather Girl collection by Lettering Delights that I fell in love with and just had to create.  Today I did just that...


Isn't she the cutest thing?  I used several cartridges to make her.  I have noticed that a lot of the shapes that are in the Lettering Delights designs can be found almost exactly on Cricut Cartridges.  For instance the head is from Doodlecharms with the eyes and mouth hidden, the hair and shoes are from Paper Dolls, the dress is a combination of shapes welded together from Gypsy Wanderings and Create-a-Critter, the legs are from Gypsy Wanderings and the hands are from Paper Dolls.
Posted by Picasa

January 17, 2011

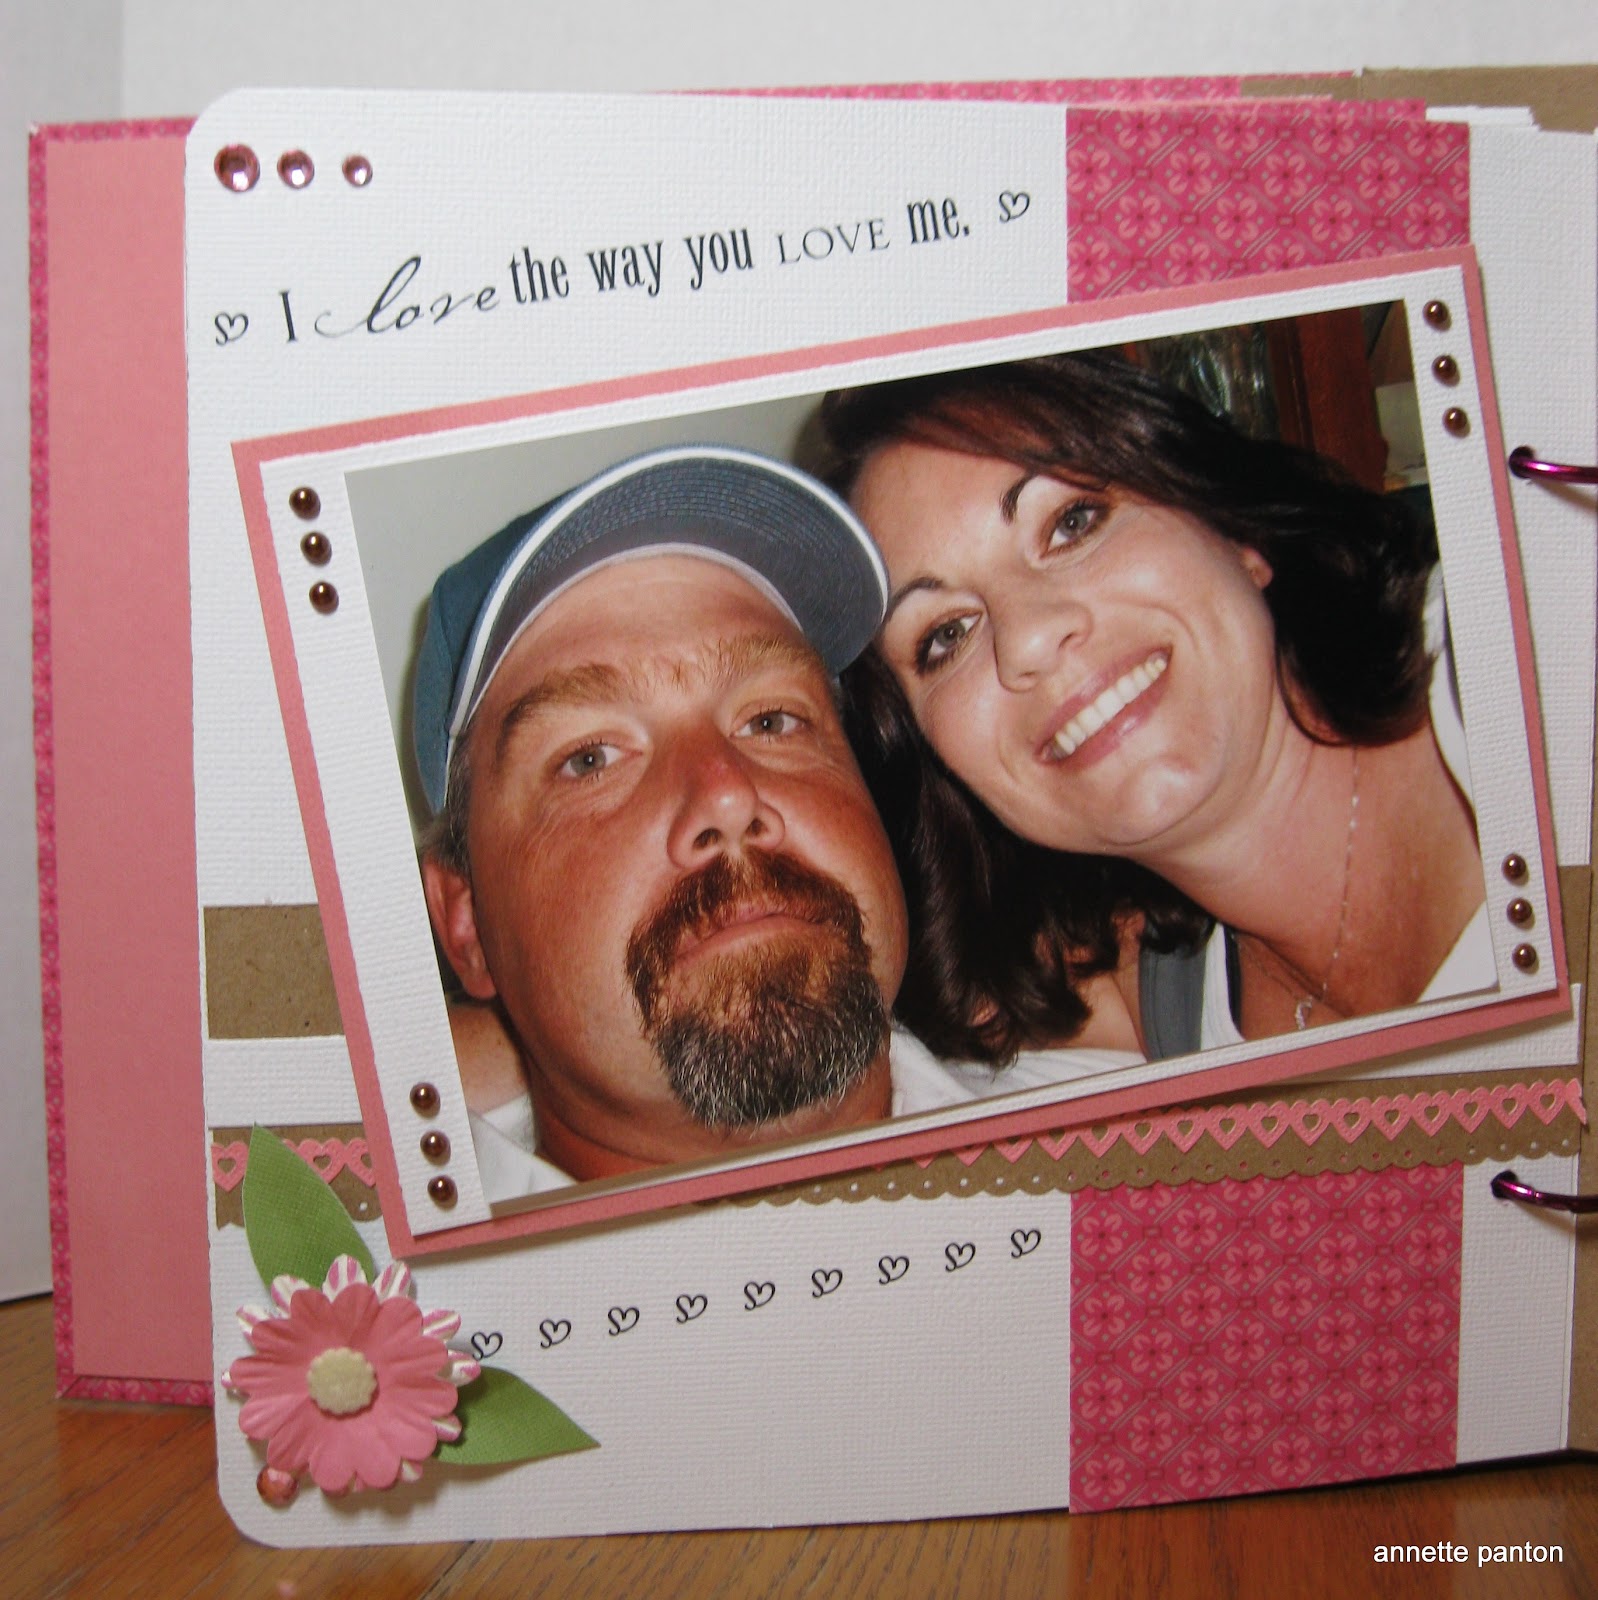
8x8 ALWAYS mini album... made completely from scratch.

I've been sick since last Wednesday and really haven't stepped outside since I got home from work that night.   So I spent the majority of the past 5 days working on this album.   I recently resigned from the Cricut Mini Albums design team and I can honestly say it was very freeing to me to make this album.  I could make whatever I wanted.  I guess structure is not for me.  I need to be able to make what I want when I want. 
I made this album completely from scratch. I absolutely love this album with all of it's pink and girliness.  It is 8x8 covered chipboard and bound with 2 jump rings.  I wanted to make a little album highlighting me and my better half.  We are getting married this  year and I plan on adding a couple of pictures from our wedding this fall.

The frame from the cover is from Create-a-Critter and "ALWAYS" is a Cuttlebug alpha cut out of chipboard.  The leaves for the flowers were handmade.


The photo mats thruout the album are from the $ spot at Target and the rub-ons are from Cloud 9 that I found in my stash.  I also decided to drag out the sewing machine and sew on some of my pages.


The library pocket is from FABULOUS FINDS, the tree is from STRETCH YOUR IMAGINATION, and the little hearts are from SWEETHEARTS.


This is my FAVORITE spread in the whole mini. The foam letters are some Thickers that I had in my stash from Big Lots- I got them for $2.


You can see the stitching and gems that I used on the heart. I cut a couple of the mats to make a patchwork look on the heart.  I cannot remember which cart the heart is from- I cut part of the left side of the heart off so that it would fit into the album nicely.


This is one of my favorite photos- it was taken when we went to Letchworth State park last fall. 
The index tab is a punch that I bought from Big Lots a couple years ago- I think it is by McGill.


Close-up of the patchwork heart.


Side view of the binding of the album.  I just ran some ribbon thru the jump rings and tied in a bow to stabilize the rings.  You can also see the dimention-  I LOVE POP DOTS!  In fact I used up my whole stash of them on this project. OH NO!!!


The binding inside the book...


I just loved these rub-ons... This one is my favorite...
December 29, 2010

Birthday Mini album made with Birthday Bash

This is a birthday mini made mainly with Birthday Bash, a bunch of scraps, and some extra birthday embellishments that I had stored up.   The shape of the book is the banner shape on Birthday Bash as well- I hid the holes that were already in the banner with my Gypsy and used my crop-a-dile to punch thru the covered cardstock and apply the eyelets.

The scalloped oval is from Gypsy Wanderings and the shake box slice of cake is an old embellishment I had in my stash.  I used a combination of tulle and grograin ribbon on the rings.  The extra large eyelets are from We R Memory Keepers- this is my last batch and I cannot find them ANYWHERE.

Side view of the book

The bird is from Birthday Bash, the ribbon is from American Crafts, and the words are jelly stickers by White Blossom.

Ribbon is from the dollar bins at Target

The journaling card is from K and Company.

December 20, 2010

Reindeer designed with Gypsy...

Trying to keep with the season I thought I would try to make my own little reindeer.  I used shapes from Accent Essentials, Create a Critter, DonJuan, Doodlecharms, Gypsy Wanderings, and Winter Frolic.  My 10 year old has already claimed this one.  :) I am really having fun designing my own little critters.


Side view with layers...

December 18, 2010

Lion designed with Gypsy... inspiration was the new Life's a Party cartridge.

I fell in love with the little lion on the Life's a Party cartridge but that was really the only image I liked on it, so I thought that I would try to design my own.  I got stuck on the body so I made my own instead of trying to copy the one on the new cartridge.  I used Gypsy Wanderings and Create a Critter. I use Gypsy Wanderings for the basic shapes more than any other cartridge... it has ovals, circles, rectangles, and squares- all that I really need.  It seems to me that I will have designed my own little zoo by the time I am done... so far an elephant, giraffe, and now lion. It is so exciting to see if they look anything like I envisioned while I was designing on my Gypsy when I cut them out. Thanks for stopping by and taking the time to look. 


December 05, 2010

Baby Giraffe Card... Designed with my Gypsy and Gypsy Wanderings cartridge!

I have a baby shower to go to this afternoon and I needed a card.  So  I had a little time and decided to make an original.  I came up with this baby giraffe made by using my Gypsy and only shapes from Gypsy Wanderings!  I am thinking that he is VERY CUTE.  :)  I made him by layering the back, top, head, and nose- kinda like the Create-a-Critter cartridge or Simply Charmed. 

Side view...

Front view... 

What the layering looks like...